

Key Takeaways
- A balanced mix of 'greens' and 'browns' is the foundation of effective composting.
- Most kitchen scraps can be composted — meat, dairy, and oily foods are the main exceptions.
- Regular turning and moisture management accelerate decomposition significantly.
- Finished compost looks dark, crumbly, and smells like fresh earth — not rotting food.
- Compost can be applied to garden beds, lawns, and containers to improve soil health.
What you will need
Why Composting Belongs in Every Garden Routine
Composting is one of the most direct ways to close the loop between your kitchen and your garden. Rather than sending vegetable trimmings and coffee grounds to landfill — where organic material breaks down anaerobically and releases methane — you redirect that material into a process that produces a genuinely valuable soil amendment. Finished compost improves drainage in heavy clay, helps sandy soils retain moisture and nutrients, and feeds the soil microbiome that plants depend on.
It also costs almost nothing beyond a modest initial investment in a bin. If you're already thinking ahead about what your garden needs each season, incorporating compost production into your prep work makes sense — the seasonal garden planning checklist is a good companion resource for timing your compost applications alongside planting schedules.
What you will need
What to Compost — and What to Leave Out
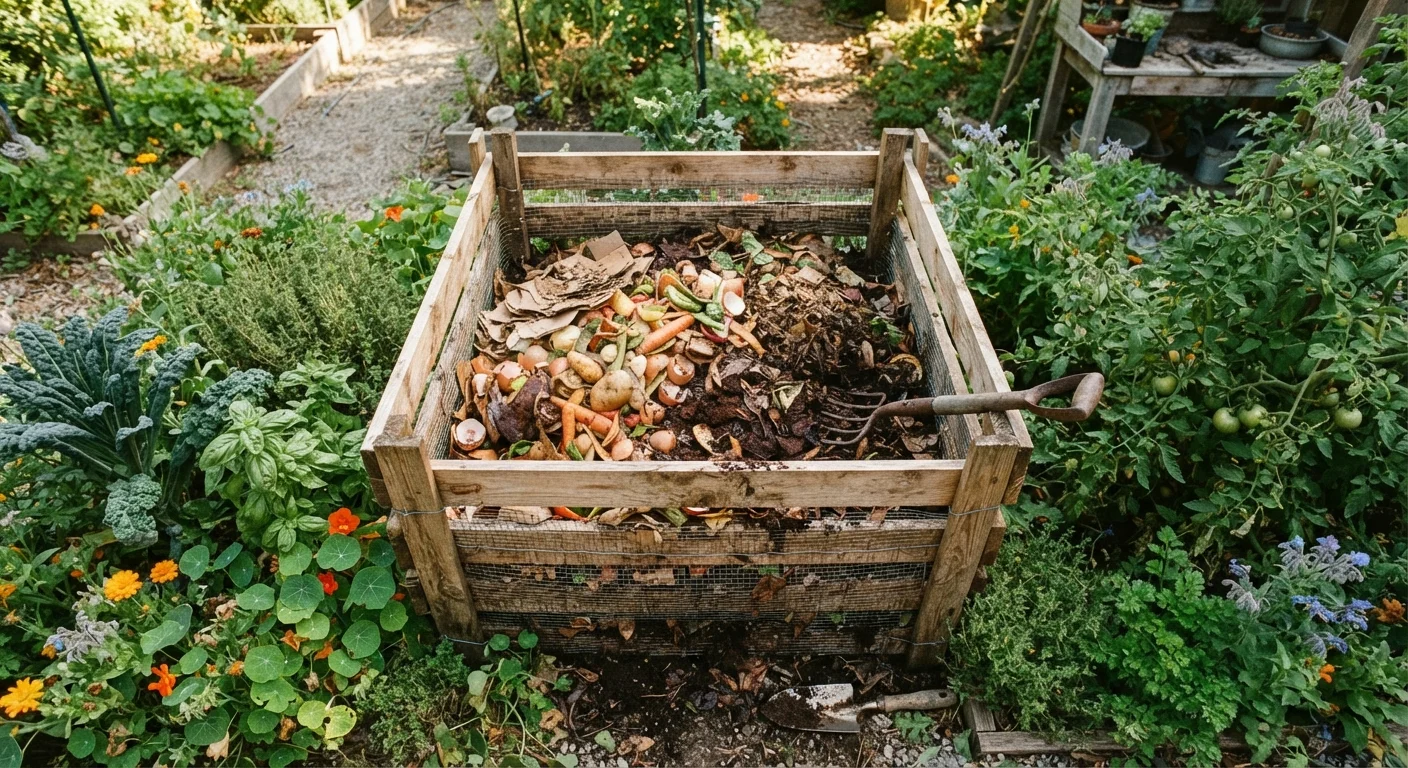
Understanding what belongs in your bin is the first practical decision you'll make. Compostable kitchen scraps — your 'greens' — include fruit and vegetable peels, cores and rinds, coffee grounds and paper filters, tea bags (check for plastic mesh first), eggshells, and plain cooked grains or pasta in small quantities. On the 'browns' side: dried leaves, cardboard, plain paper, straw, and woody prunings broken into small pieces.
Never Compost These Kitchen Items
Avoid adding meat, fish, bones, dairy products, and heavily oily or greasy foods to a standard backyard compost bin. These materials attract rodents and other pests, and they create odor problems that can affect neighbors. Stick to plant-based scraps for a trouble-free system.
Beyond meat and dairy, a few other items deserve caution: diseased plant material from the garden can spread pathogens back into your beds, and citrus peels are fine in moderate quantities but can slow decomposition if added in large amounts due to their antimicrobial oils. Pet waste is not suitable for compost bins used on food gardens.
Compost bin or tumbler
Contains and concentrates organic material, retaining heat and moisture to accelerate decomposition.
Garden fork or pitchfork
Used to turn and aerate the compost pile, which speeds up breakdown and prevents odor.
Kitchen scrap collection container
A countertop bin or bowl for collecting food scraps before transferring them to the outdoor pile.
Garden hose or watering can
Used to moisten the pile if it dries out, maintaining the humidity microbes need.
Compost thermometer
Measures internal pile temperature to confirm active decomposition is occurring.
Setting Up and Running Your Compost System
The steps below walk you through the full process — from placing your bin to harvesting finished compost. A well-managed pile can yield usable compost in as little as 6–8 weeks with regular turning, or in 3–6 months with minimal effort. Either approach works; the difference is mostly how often you intervene.
Choose and position your compost bin
Select a bin style that fits your space. Enclosed plastic bins work well for small yards and deter pests; open wooden bins or wire cages suit larger gardens with more material volume; tumblers are convenient for renters or tight patios. Place your bin in a partially shaded spot on bare soil — direct contact with the ground lets beneficial worms and microorganisms migrate into the pile naturally.
Lay a brown carbon base
Before adding any kitchen scraps, place a 3–4 inch layer of 'brown' carbon-rich material at the bottom of your bin. Good options include dried leaves, torn cardboard (remove tape and staples), newspaper, straw, or wood chips. This base layer promotes airflow beneath the pile and gives decomposers the carbon they need to balance nitrogen-rich food scraps.
Add kitchen scraps in the 'green' layer
Add your collected kitchen scraps on top of the brown base. Suitable greens include fruit and vegetable peels, coffee grounds and filters, loose-leaf tea, eggshells, and plain cooked grains or bread in modest amounts. Aim for a ratio of roughly 2–3 parts browns to 1 part greens by volume. This carbon-to-nitrogen balance gives microbes both the energy and the protein they need to thrive.
Alternate layers and manage moisture
Continue building the pile in alternating green and brown layers each time you add material. After each addition, check moisture by squeezing a handful of the compost — it should feel like a wrung-out sponge, damp but not dripping. If the pile feels dry, water lightly with a garden hose. If it feels soggy or smells unpleasant, add more dry brown material.
Turn the pile regularly
Use a garden fork to turn the pile every 1–2 weeks, moving material from the outer edges toward the center where heat is concentrated. This aerates the pile, preventing compaction and anaerobic conditions. An actively managed pile can reach internal temperatures of 130–160°F — high enough to break down material quickly and kill most weed seeds. If you prefer a hands-off approach, simply add material and wait 3–6 months; turning just speeds the process.
Recognize finished compost and harvest it
Finished compost is dark brown, crumbly, and smells earthy — not like rotting food. Individual scraps should no longer be identifiable. To harvest, stop adding new material for 2–4 weeks and let the remaining pile finish. Scoop or shovel finished compost from the bottom of the bin, where decomposition is most complete. Any partially broken-down material at the top can be tossed back in to continue composting.
Apply compost to your garden
Work finished compost into garden beds at a depth of 2–3 inches before planting, or apply it as a top dressing around established plants. Compost improves soil structure in both clay and sandy soils, supports microbial life, and slowly releases nutrients over the growing season. It pairs especially well with mulching practices — see mulching techniques that protect soil health for how to layer compost and mulch for maximum benefit.
Speed Things Up Naturally
Chopping or tearing kitchen scraps into smaller pieces before adding them to the bin dramatically increases decomposition speed. Smaller surface areas give microbes more to work on, and you can expect finished compost weeks sooner than with whole pieces.
Once you have a steady supply of compost, the possibilities expand. It enriches container gardens just as effectively as in-ground beds — useful context if you're exploring container gardening for small spaces. Compost also supports the kind of healthy soil ecology that underpins natural pest control approaches, and works well alongside companion planting strategies to build a more resilient garden system overall.
Watch Your Moisture Levels
A pile that is too wet becomes anaerobic — it produces foul odors and slows decomposition. If your pile smells like ammonia or rotten eggs, it likely needs more dry brown material and more frequent turning to reintroduce oxygen.