

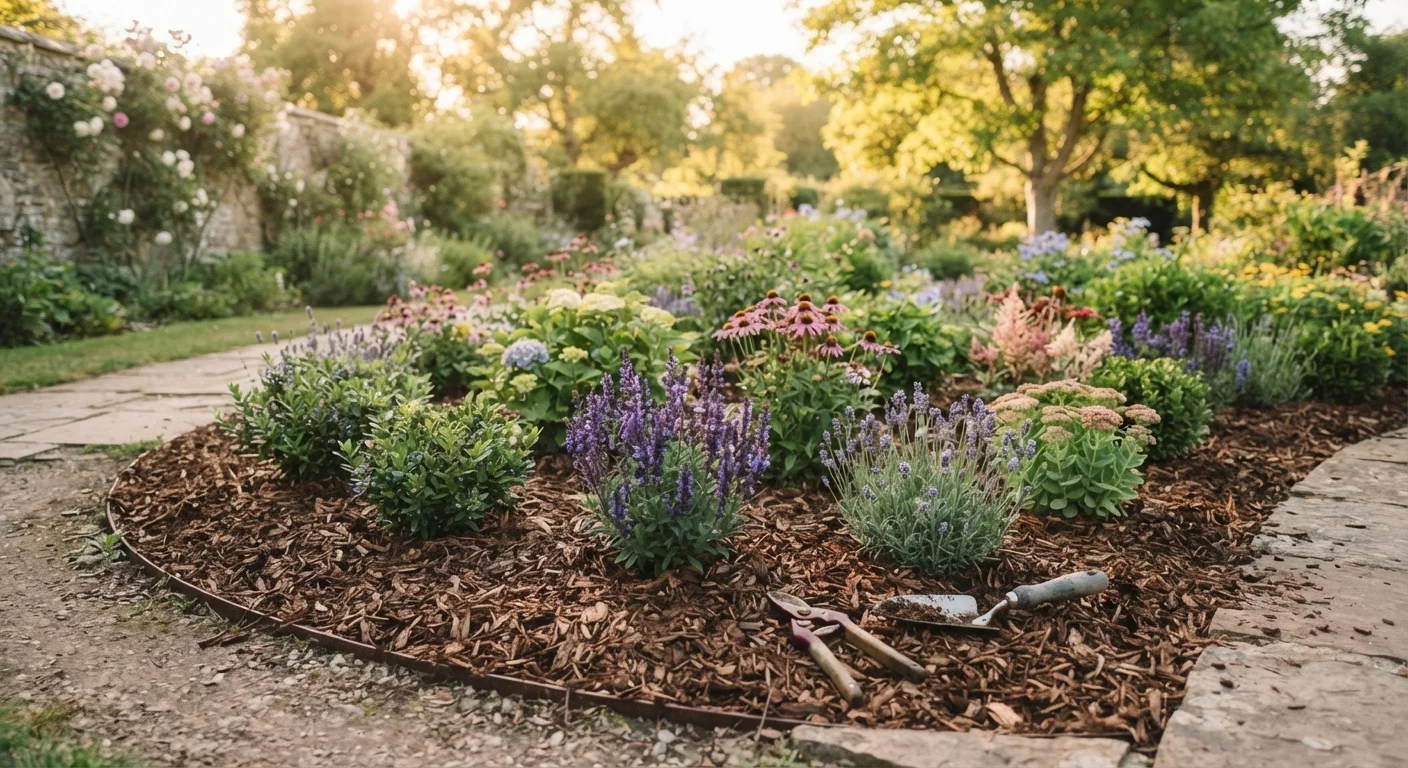
Key Takeaways
- Apply mulch 2–4 inches deep — too little won't suppress weeds, too much can suffocate roots.
- Keep mulch pulled back a few inches from plant stems and tree trunks to prevent rot.
- Organic mulches break down over time, feeding soil with nutrients and improving its structure.
- Timing matters: apply mulch after soil has warmed in spring or before the first frost in fall.
- The right mulch material depends on your plants, climate, and aesthetic goals.
Why Mulching Is Worth Getting Right
Mulching is one of the most impactful things you can do for a garden, yet it's frequently done incorrectly — either too thin, too thick, or piled against plant stems in ways that invite disease. Done well, a proper layer of mulch moderates soil temperature, slows water evaporation, suppresses weeds, and supports the microbial activity that keeps soil productive.
If you're also thinking about soil health from a different angle, pairing mulching with techniques like home composting can amplify the benefits considerably. Together, these two practices form a strong foundation for any productive garden bed.
Apply mulch at a consistent 2–4 inch depth across all garden beds.
This depth range is supported by university extension guidelines as the effective window for weed suppression and moisture retention. Too shallow and weeds establish easily; too deep and roots can be deprived of oxygen and rain penetration.
Keep mulch pulled back several inches from stems, crowns, and tree trunks.
Contact between moist mulch and plant tissue creates a warm, wet environment that encourages fungal rot and can harbor rodents that gnaw bark. This single habit prevents some of the most common mulching-related plant losses.
Match mulch material to plant type and bed function.
Different plants have different soil chemistry and drainage needs. Using the wrong mulch — for example, alkaline wood chips around acid-loving plants — can gradually shift soil pH in an unhelpful direction.
Clear weeds thoroughly before applying mulch, then apply promptly.
Mulch suppresses weed seeds from germinating at the surface, but it cannot kill established weeds already rooted in soil. Covering active weeds gives them a dark, moist refuge that often accelerates their growth.
Refresh organic mulch annually rather than allowing unlimited buildup.
Decomposed mulch that is never turned can compact into a water-repellent mat. Annual refreshing — checking depth and raking before topping up — keeps the layer loose, aerated, and effective.
Choosing the Right Mulch Material
Not all mulches are equal. Organic options — shredded bark, wood chips, straw, pine needles, or shredded leaves — break down gradually, adding organic matter to the soil as they decompose. Inorganic options like gravel or landscape fabric block weeds and retain heat but contribute nothing to soil nutrition.
For most home garden beds, organic mulch is the stronger long-term choice. Shredded bark suits ornamental beds and pathways; straw works well in vegetable gardens; pine needles suit acid-loving plants like blueberries and azaleas. If water conservation is a priority, you'll find this pairs naturally with the principles in drought-tolerant garden design.
Shredded Leaves: A Free Mulch Option
Fallen leaves shredded with a lawn mower make an excellent, cost-free organic mulch for most garden beds. Whole leaves can mat and repel water, but shredded leaves break down well and add organic matter as they decompose. Run your mower over a pile of dry leaves two or three times to get a usable particle size.
Depth, Timing, and Placement
The standard recommendation for mulch depth is 2–4 inches. Below 2 inches, weeds push through easily and moisture retention is minimal. Above 4 inches, mulch can prevent rain from penetrating to roots and create anaerobic conditions that harm soil organisms.
Timing is equally important. In spring, wait until soil has warmed before applying — mulching over cold soil delays warming and slows plant growth. In fall, apply mulch just before frost to insulate roots through winter. Always clear out weeds before laying mulch; covering them gives them a sheltered spot to seed and spread.
Placement around plant bases deserves particular care. Pull mulch back 2–3 inches from stems and at least 6 inches from tree trunks. Mulch piled against bark — sometimes called a "mulch volcano" — traps moisture and promotes rot, fungal disease, and pest activity.
Mulch Volcanoes Are a Common Mistake
You'll often see mulch mounded high against tree trunks in commercial landscapes — this is a persistent bad practice, not a model to follow. Mounded mulch against bark retains excess moisture, can introduce fungal disease, and may encourage rodents to nest and gnaw at the base of the tree. A flat, even layer with a clear gap around the trunk is always the correct approach.
Maintaining Mulch Over Time
Organic mulch breaks down and thins out over a single growing season. Check depth each spring and add fresh material as needed rather than layering it year after year without turning. Raking lightly before topping up breaks any compaction and restores aeration.
Good mulching also supports adjacent garden practices. Weed pressure reduction gives desirable plants less competition — something that complements the ecological strategies explored in natural pest control. And since mulch slows surface evaporation, it works in concert with smart watering habits — see common watering myths for guidance on getting irrigation right too.