

Key Takeaways
- Vertical storage uses wall height rather than floor area, freeing up valuable living space.
- Wall-mounted shelves, pegboards, and tall bookcases are the most practical vertical storage tools.
- Anchoring shelves correctly to studs or using appropriate wall anchors is essential for safety.
- Grouping items by frequency of use — daily items lower, rarely used items higher — improves functionality.
- Vertical storage works in nearly every room, from kitchens and bedrooms to home offices and garages.
What you will need
Why Vertical Space Is the Most Underused Resource in Small Rooms
Most people focus on floor space when a room feels crowded, but the wall above furniture and below the ceiling is often completely unused. In a standard US home with 8-foot ceilings, there can be four to five feet of usable wall height sitting empty above typical furniture lines. Tapping into that space doesn't require a renovation — it requires shelves, brackets, and a plan.
Vertical storage works particularly well in rooms where floor space is fixed and furniture rearrangement won't help: narrow bedrooms, small home offices, cramped entryways, and galley kitchens. The same logic scales up to larger spaces like garages — see what walls can and can't come down if you're considering structural changes alongside storage improvements, and our garage storage principles for larger-scale vertical applications.
Use Consistent Containers for a Cleaner Look
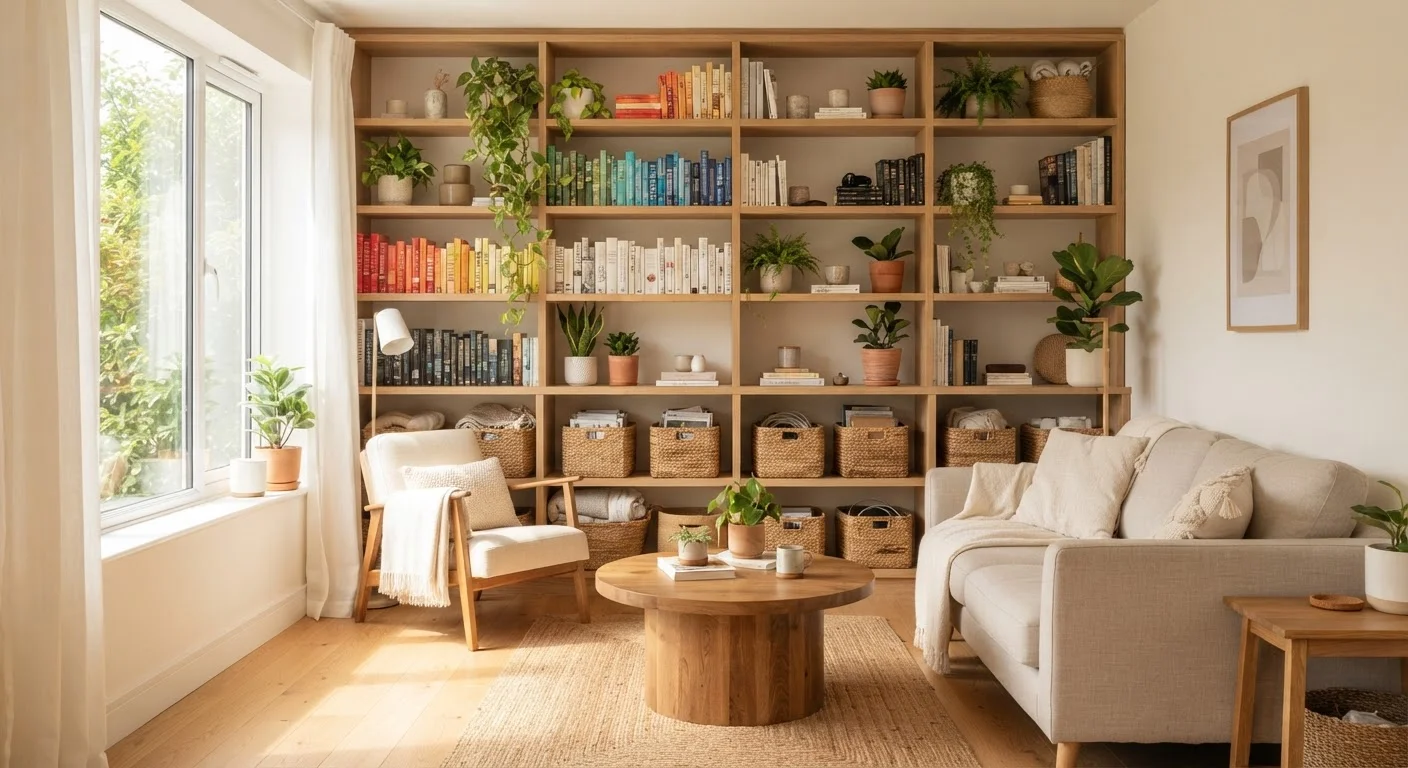
Uniform baskets, bins, or boxes on open shelves create visual calm even in a busy room. Label containers on the front edge so items are easy to identify without pulling everything down. This approach is especially useful in shared households — for more on navigating different tidiness standards, see our guide on organizing shared spaces.
What You'll Need Before You Start
Successful vertical storage installation depends on having the right tools for the wall type in your home. Drywall over wood framing — the most common construction in US residential buildings — requires locating studs for heavy shelves or rated anchors for lighter loads. Concrete or masonry walls need masonry drill bits and appropriate fasteners. Gather your materials before measuring anything.
What you will need
Stud Finder
Locates wall studs so shelves can be anchored securely rather than into drywall alone.
Drill and Drill Bits
Used to drive screws into studs or to create pilot holes for wall anchors.
Level
Ensures shelves are installed horizontally and won't cause items to slide or tip.
Measuring Tape
Helps plan shelf spacing and confirm items will fit before drilling.
Pegboard Panel and Hooks
Provides a flexible, reconfigurable wall surface for hanging tools, utensils, or accessories.
Wall Anchors
Provides a secure mounting point in drywall when a stud is not available at the desired location.
Step-by-Step: Installing and Loading Vertical Storage
Audit what you need to store
Before touching a single wall, take stock of what you actually need to organize. Sort items into categories: things you use daily, things used weekly or seasonally, and things that rarely leave a box. This determines how many shelves you need, at what height, and how deep they should be. Avoid adding storage just to fill it — more shelving doesn't always mean better organization. Our article on the hidden cost of too much storage furniture explains why excess storage can work against you.
Choose the right vertical storage solution for each wall
Match the storage type to the room and wall available:
- Floating shelves are clean-looking and work in living rooms, bedrooms, and offices for books, plants, or decorative bins.
- Pegboards excel in kitchens, home offices, and garages where tools or utensils need to hang in plain sight and be rearranged easily.
- Tall, freestanding bookcases work where wall anchoring isn't possible, such as in rentals — but secure them to the wall with an anti-tip strap regardless.
- Over-door organizers capture dead space on the back of closet or pantry doors with no drilling required.
See our comparison of closed storage vs. open shelving if you're unsure which style suits your household habits.
Locate studs and plan your layout
Use a stud finder to mark stud positions along the wall where you plan to install shelves. Studs in US residential construction are typically spaced 16 or 24 inches apart. Mark each stud lightly with a pencil. Then, using your measuring tape and level, sketch or tape out where each shelf will sit — accounting for the height of items being stored and leaving enough vertical clearance to retrieve them without awkwardness. Standard shelf spacing for books and small objects is roughly 10–12 inches; deeper items like bins may need 14–16 inches.
Install brackets or mounting hardware
Drill pilot holes at marked stud positions, then drive screws through the bracket holes into the studs. If no stud falls where you need a bracket, use a wall anchor rated for the load you're placing there — check the anchor's weight rating before purchase. Once brackets are secured, hold a level across them before tightening fully. A shelf that's even slightly off will be visually obvious once loaded.
[important_callout]Load shelves using a frequency-of-use hierarchy
Place items you reach for daily at or slightly below eye level — roughly 48 to 60 inches from the floor for most adults. Items used weekly can go higher. Rarely touched seasonal items belong at the very top. This prevents the frustration of climbing a step stool for everyday objects and reduces the risk of heavy things falling from height. Use bins or baskets on upper shelves so smaller items stay contained and easy to bring down in batches.
Maintain the system over time
Vertical storage only stays functional if things are returned to their designated spots. Dedicate five minutes every week or two to scanning shelves for items that have drifted to the wrong spot. Seasonal changeovers — swapping winter gear for summer gear, for instance — are also a good moment to reassess what's on the shelves and remove anything that's no longer needed. These same principles apply throughout the home: for keeping kitchen drawers organized, regular light maintenance beats periodic overhauls every time.
Don't Overload Upper Shelves
Placing very heavy items — such as large appliances, full bookshelves, or dense tools — at significant height increases the risk if a shelf fails. Reserve upper storage for lightweight items like seasonal textiles, empty bins, or lightweight decorative objects. Keep heavier items within arm's reach at or below eye level.