

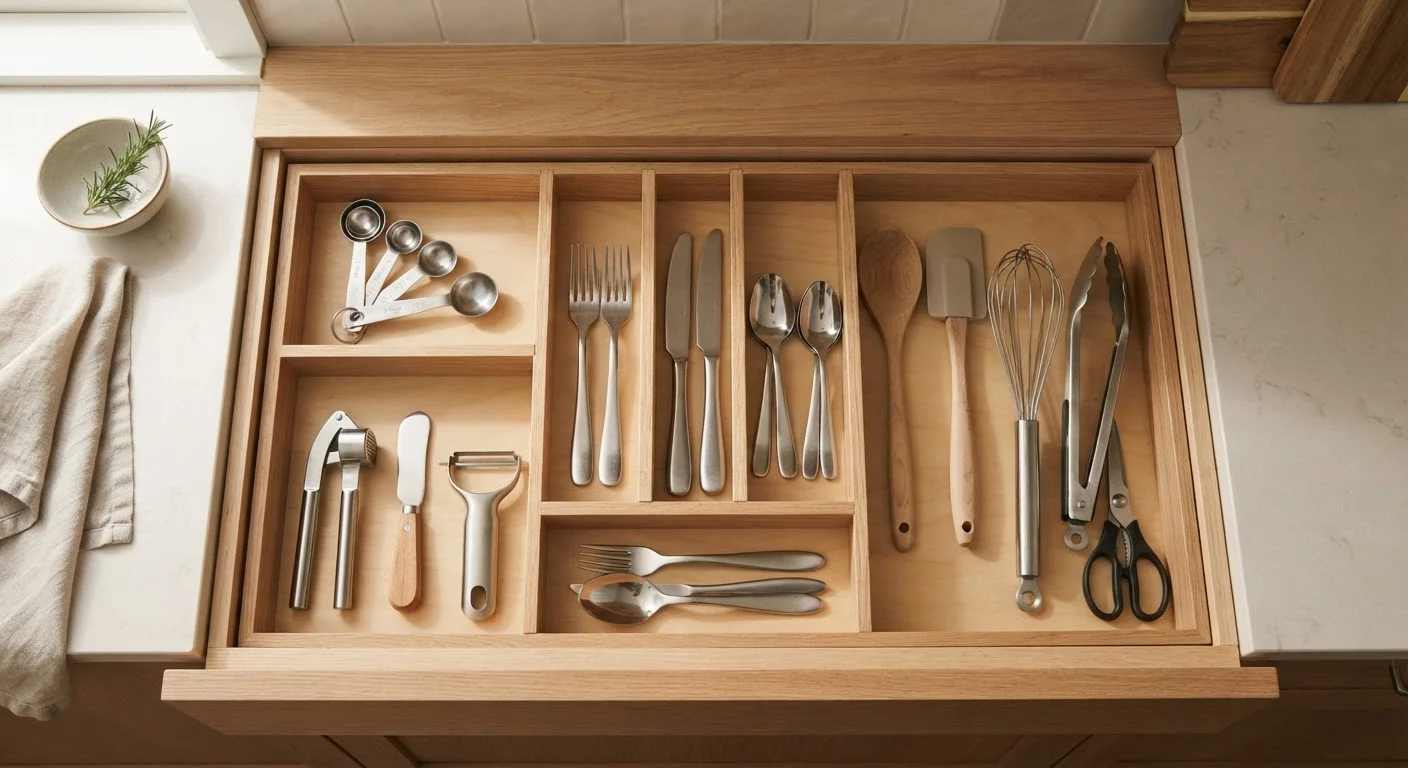
Key Takeaways
- Emptying a drawer completely before sorting prevents hidden clutter from building back up.
- Dividers — adjustable or DIY — are the single most effective tool for maintaining drawer order.
- Group items by how they're used together, not just by category, to speed up daily cooking.
- Reducing quantity matters more than buying better organizers; fewer items stay neater.
- A two-minute weekly reset is enough to prevent drawers from sliding back into chaos.
What you will need
Why Kitchen Drawers Get Disorganized So Fast
Kitchen drawers fail faster than almost any other storage space in the home. The reason isn't a lack of discipline — it's that drawers are designed for speed. You open them dozens of times a day, often mid-task with one hand occupied. Items get dropped in rather than placed, and the drawer closes before anything is straightened.
High-traffic drawers also attract a secondary problem: they become a default deposit point for anything too small to have an obvious home. Batteries, rubber bands, takeout menus, mystery keys — all find their way in. Without a clear system, the drawer's original purpose gets diluted fast.
The most durable solution isn't a better organizer — it's fewer items combined with a structure that makes putting things back as easy as taking them out. Adding more bins and shelves to an overcrowded space often makes things worse, not better, as explored in our piece on the hidden cost of too much storage furniture.
What you will need
What You'll Need
You don't need much to reorganize a kitchen drawer effectively. The tools below will help you measure, divide, and label your space — most can be sourced from what you already have at home.
Adjustable drawer dividers
Create customizable compartments that fit drawers of different widths without cutting or gluing.
Shallow bins or small containers
Corral loose odds-and-ends like twist ties, bread clips, or batteries into one contained zone.
Blade guards or knife inserts
Keep sharp blades secured in place to prevent accidental cuts when reaching into the drawer.
Adhesive label maker or masking tape
Label zones inside the drawer so household members know where items belong after use.
Step-by-Step: Sorting and Setting Up Your Drawer
Don't Skip the Full Empty-Out
Organizing around existing contents almost always fails. Items get shuffled rather than edited, and the root problem — too much stuff in one space — goes unaddressed. Taking everything out first gives you an honest count and prevents old clutter from being buried under new order.
Empty the drawer completely
Remove every item and place it on a flat, clear surface. Wipe the interior of the drawer with a damp cloth to remove crumbs and residue. A clean slate makes it easier to see what you're working with and ensures nothing gets overlooked.
Sort items into keep, relocate, and discard
Pick up each item and make a quick decision. Keep only what genuinely belongs in this drawer and gets used regularly. Items that belong in other rooms or other drawers go into a 'relocate' pile. Broken, duplicate, or never-used items should be discarded or donated.
Be honest about duplicates — three vegetable peelers don't serve the average household. Reducing volume is more effective than any organizer you could buy. For broader strategies on managing what you own over time, see our article on controlling clutter with one-in, one-out or seasonal purges.
Group items by use context
Before placing anything back, decide how to cluster what remains. Group items the way you actually reach for them — baking tools together, daily cooking utensils together, rarely used gadgets in a back zone. Use-context grouping beats alphabetical or shape-based grouping in a working kitchen.
Measure the drawer and fit your dividers
Measure the interior width, depth, and height of the drawer before buying or positioning dividers. Adjustable spring-tension dividers work well for most standard drawers. For shallow junk drawers, small repurposed containers — like individual food storage containers — create affordable compartments without a trip to the store.
Place items back with intention
Return only the keep items, placing each in its assigned zone. Lay utensils flat and facing the same direction where possible — this reduces fumbling and gives a quick visual inventory at a glance. Sharp items like peelers and zesters should be secured in their own slot away from loose utensils.
Label zones if the drawer is shared
In households where multiple people use the same kitchen, labels prevent items from drifting into the wrong section. A small strip of masking tape with a handwritten label works just as well as a label maker. Clear labeling reduces friction and makes it possible for everyone to maintain the system, not just the person who set it up. For more on navigating shared kitchen habits, see organizing shared spaces when tidiness standards differ.
Build a two-minute weekly reset habit
Set a recurring reminder — Sunday evening works well for many households — to spend two minutes straightening each high-traffic drawer. Return any items that have migrated, toss any obvious trash, and close the drawer. This small habit is the difference between a system that lasts and one that reverts within a month.
Sharp Tools Need Secure Placement
Knives and peelers should never float loose in a drawer alongside other utensils. A loose blade can cause cuts when reaching blindly. Use a dedicated knife block, a blade guard, or a slotted insert designed to hold sharp tools securely in place.
Keeping It Working Over Time
A well-organized drawer will degrade without maintenance, but that maintenance doesn't need to be extensive. The weekly two-minute reset described in Step 7 handles the majority of drift. Beyond that, a light quarterly edit — pulling everything out and reassessing what belongs — keeps the drawer calibrated to how your kitchen use changes over seasons.
The 'One Zone, One Job' Rule
Assign each section of a drawer a single use-context — baking tools together, grilling tools together — rather than sorting by shape alone. When you're mid-recipe and reaching for a spatula, you'll find it in two seconds rather than ten. This small shift makes the whole system feel intuitive rather than imposed.
If you find the same items consistently ending up in the wrong place, that's a sign the current zone assignments don't match how your household actually uses the kitchen. Adjust the zones rather than policing the behavior. A system that works with natural habits will always outperform one that demands conscious effort every single time.
For households with limited drawer space, vertical solutions outside the drawer — such as countertop crocks or wall-mounted utensil rails — can absorb frequently used items and reduce pressure on drawers entirely. See our guide on making the most of wall space with vertical storage for practical options.