

Key Takeaways
- Grout cracks most often from substrate movement, improper installation, or using the wrong filler material.
- Hairline surface cracks are usually cosmetic; wide or recurring cracks may signal a structural issue beneath.
- Regrouting requires fully removing old grout before applying new — partial patching rarely holds long-term.
- Corners and joints between walls and floors should always be caulked, never grouted.
- Sealing grout after installation extends its lifespan and resists moisture penetration.
What you will need
Why Tile Grout Cracks in the First Place
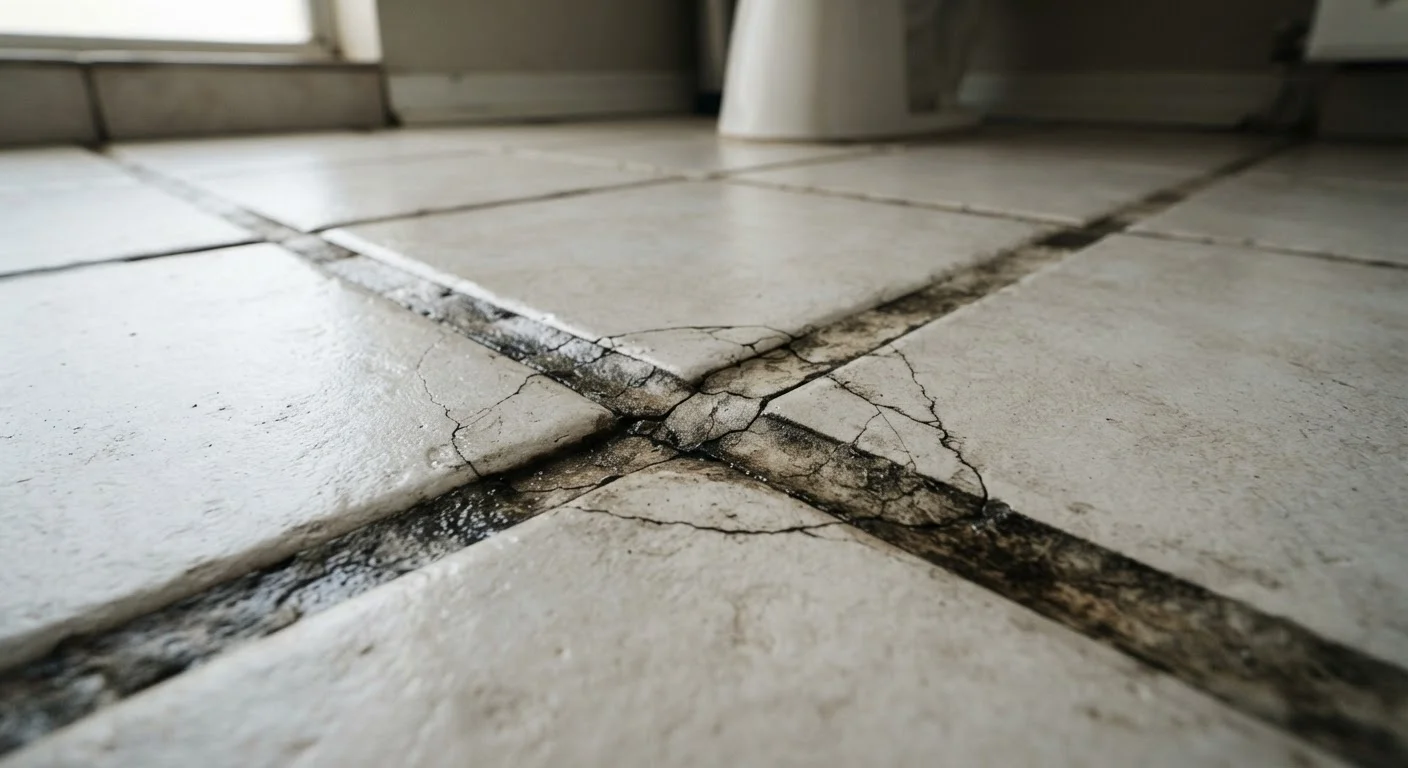
Grout looks rigid, but the surfaces beneath it are not. Most grout cracks originate from movement — the subfloor flexes underfoot, seasonal temperature changes cause slight expansion and contraction, and over time that stress concentrates along grout lines. Because grout is inflexible by nature, it absorbs that movement by cracking.
Other common causes include:
- Insufficient adhesive coverage: If tiles weren't fully bedded in thinset mortar, hollow spots form beneath them. Those tiles shift under pressure, fracturing the grout above.
- Grouting too soon: Applying grout before the mortar has fully cured can cause cracking as the bed settles.
- Wrong product in the wrong place: Grout should never be used at inside corners or along the perimeter where walls meet floors. Those are movement joints that require flexible caulk. Using grout there almost guarantees cracking. See our guide to choosing grout, caulk, or sealant for a full breakdown.
- Low-quality or incorrectly mixed grout: Too much water in the mix weakens the final product, making it brittle and prone to shrinkage cracks.
A hairline crack limited to one or two joints is usually cosmetic. However, if cracks are wide (greater than 1/8 inch), running in patterns, or reappearing shortly after repair, investigate the subfloor before regrouting — you may be dealing with inadequate substrate support rather than a surface problem.
When to Call a Professional Instead
If cracked grout keeps returning in the same area despite correct repair technique, the problem likely lies in the subfloor — inadequate thickness, flex, or moisture damage. Persistent or widespread cracking across a large tiled area may require professional assessment before any surface repair is worthwhile.
What You'll Need Before You Start
Gather everything listed below before beginning. Stopping mid-job while grout is drying leads to uneven results.
What you will need
Grout saw or oscillating multi-tool with grout blade
Removes old grout cleanly from joints without damaging tile edges.
Rubber grout float
Spreads and packs grout evenly into tile joints.
Bucket and clean sponges
Used to clean tile faces and shape grout joints during application.
Grout (sanded or unsanded)
The replacement filler material for the cleaned joints.
Penetrating grout sealer
Applied after curing to protect grout from moisture and staining.
Safety glasses and dust mask
Protects eyes and lungs from grout dust and debris during removal.
Vacuum or shop vac
Clears dust and debris from joints before applying new grout.
Flexible caulk (matching color)
Used instead of grout at inside corners and perimeter joints where movement occurs.
How to Remove Old Grout and Regrout Properly
Follow these steps in order. Skipping the removal stage and simply applying new grout over old is the single most common reason DIY regrout jobs fail within months.
Assess the damage before buying materials
Press gently on the tiles around the cracked grout. If any tiles shift, feel hollow when tapped, or rock underfoot, the adhesive bond beneath has failed. Those tiles need to be re-set before grouting. Regrouting over a loose tile will only crack again.
Also check whether the crack is at an inside corner or perimeter joint — if so, the correct fix is flexible caulk, not grout.
Remove all damaged grout from the joint
Use a grout saw, oscillating multi-tool with a grout blade, or a rotary tool fitted with a grout removal bit to cut out the old grout to a depth of at least 1/8 inch — ideally down to the tile's full thickness. Work carefully to avoid chipping tile edges.
Vacuum all dust and debris from the joints thoroughly. Any residue left in the joint will prevent the new grout from bonding correctly.
Mix fresh grout to the correct consistency
Choose a grout that matches the original joint width — sanded grout for joints wider than 1/8 inch, unsanded for narrower joints. Mix according to the manufacturer's instructions, using only as much water as specified. The finished mix should hold its shape without slumping — roughly the consistency of peanut butter.
Mix only as much as you can use in 20–30 minutes.
Pack grout firmly into the cleaned joints
Hold a rubber grout float at roughly a 45-degree angle and press grout firmly into the joints, working diagonally across the tile faces. Pack each joint completely — voids lead to future cracking. Remove excess grout from tile surfaces with the edge of the float before it begins to set.
Clean the tile faces and shape the joints
After the grout has stiffened slightly (usually 15–30 minutes — check the product instructions), dampen a clean sponge and wipe the tile faces in a circular motion, rinsing frequently. Avoid pressing so hard that you pull grout out of the joints. Shape each joint with light, consistent sponge passes for a uniform finish.
Allow full cure time, then seal the grout
Allow grout to cure fully before sealing — most cement-based grouts require at least 48–72 hours, though some formulations need longer. Apply a penetrating grout sealer using a small brush or applicator bottle, wiping off any excess from tile surfaces within a few minutes. Sealing protects grout from moisture, staining, and premature degradation.
Never Grout Over Existing Grout
Applying fresh grout directly over old, cracked grout is a common shortcut that does not work. The new layer has no solid bond and will crack or pop out within weeks. Full removal of the damaged grout down to the tile substrate is the only approach that produces a durable result.
Once the repair is complete and fully cured, you're ready to seal. If you're eventually planning a full tile replacement, our overview of laying floor tiles yourself covers preparation and installation from scratch.