

Key Takeaways
- Subfloor preparation is the most critical step — skipping it causes tiles to crack or lift.
- Planning your layout before mixing any mortar prevents awkward cuts at visible edges.
- Grout must be sealed after curing to protect against moisture and staining.
- Most DIYers can complete a small to medium room, but uneven subfloors may require professional leveling.
- Permits are rarely needed for tile replacement, but always check local building codes first.
What you will need
Is This a Realistic DIY Project?
Laying floor tiles is one of the more accessible intermediate-level home improvement tasks, but it carries real consequences if done poorly. Cracked grout, loose tiles, and lippage (uneven tile edges) are common outcomes when preparation is rushed. The good news is that careful, methodical work produces durable, professional-looking results — even for first-timers tackling a bathroom or kitchen floor.
Room size matters. A small bathroom (under 50 square feet) is a manageable starting point. Larger spaces, rooms with radiant heating, or floors that show significant flex, rot, or unevenness may require a licensed tile setter or structural repairs before any tile work begins. For help deciding where DIY ends and professional work begins, see our guide to knowing when to call a tradesperson.
What you will need
Tools and Materials You'll Need
Having the right equipment before you start prevents costly mid-project trips to the hardware store and reduces the risk of errors. Here's what the job typically requires.
Notched trowel
Spreads thin-set mortar in ridged lines that help tiles bond evenly to the subfloor.
Wet tile saw or manual tile cutter
Makes straight and angled cuts around doorways, pipes, and edges.
Tile spacers
Maintains consistent grout joint width across the entire floor.
Rubber mallet
Gently seats tiles into mortar without cracking them.
Tile leveling system
Clips and wedges that prevent lippage between adjacent tiles during installation.
Grout float
Presses grout into joints and removes excess from tile surfaces.
Chalk line or laser level
Establishes perfectly straight reference lines to keep the layout square.
Penetrating grout sealer
Protects finished grout lines from moisture absorption and staining.
The Tiling Process, Step by Step
Follow these steps in sequence. Rushing any stage — especially subfloor prep and mortar curing — is the leading cause of tile failure.
Prepare the subfloor
Remove all existing flooring material and clean the subfloor thoroughly. Fill any low spots with floor-leveling compound and allow it to cure per the manufacturer's instructions. The surface must be flat within 3/16 inch over a 10-foot span — a standard used widely by tile industry guidelines. Sand down any high spots and ensure the subfloor is completely dry.
Plan your layout
Find the center of the room by measuring and snapping chalk lines along both axes. Dry-lay a row of tiles from the center toward each wall to see how the tiles fall at the edges. Adjust the starting point so that cut tiles at opposite walls are roughly equal in width — this creates a balanced, professional appearance.
Mix and apply thin-set mortar
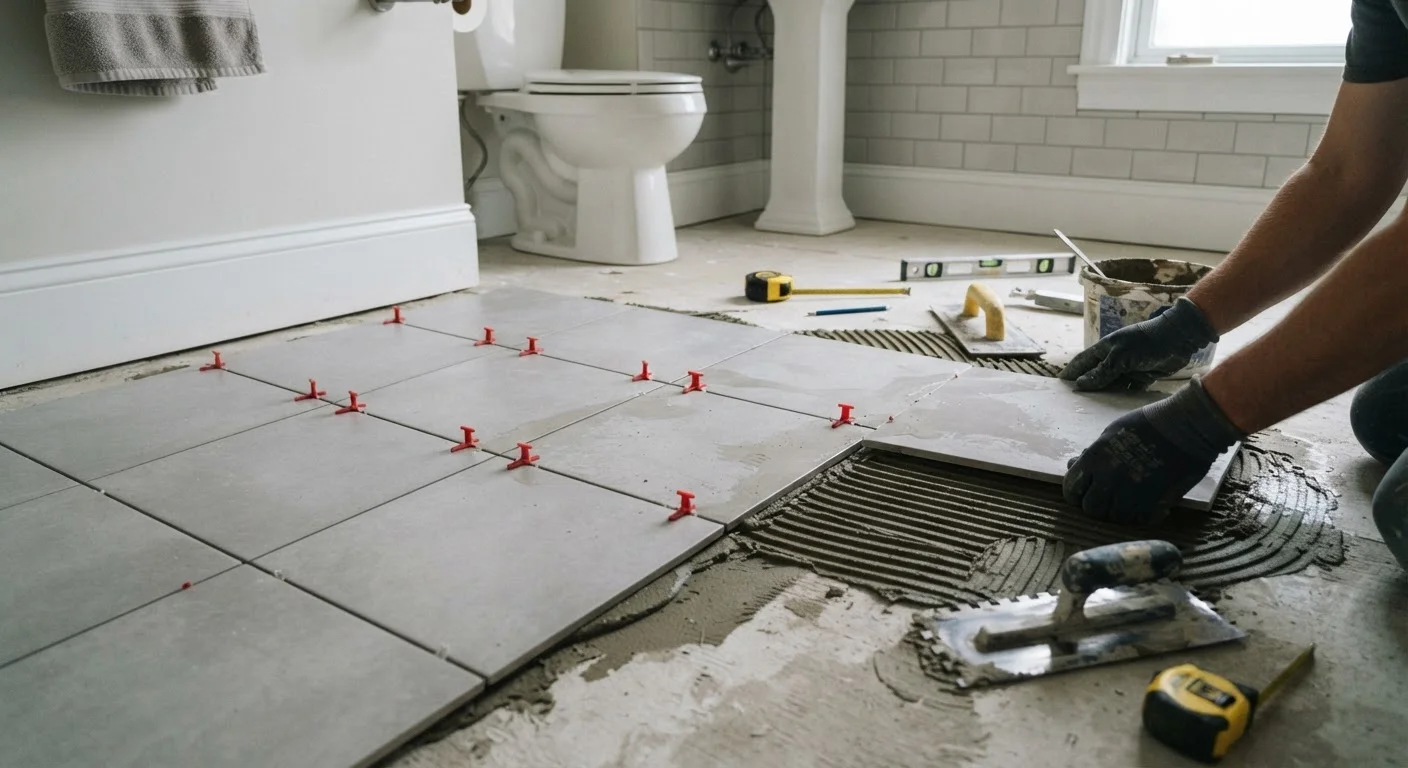
Mix thin-set mortar according to the manufacturer's directions until it reaches a peanut-butter consistency with no dry lumps. Using your notched trowel, spread mortar over a small section (roughly 3 square feet) of the subfloor. Hold the trowel at a 45-degree angle to create consistent ridges that help tiles bond evenly.
Set the tiles
Press each tile firmly into the mortar and give it a slight twist to collapse the ridges and ensure full contact. Place tile spacers at each corner as you go. Use a rubber mallet to gently tap tiles level. Check periodically with a straight edge to catch any lippage early — it is much easier to correct before the mortar sets.
Make cuts for edges and obstacles
Measure each edge tile individually — walls are rarely perfectly parallel. Mark cuts with a pencil and use a wet tile saw for straight cuts or an angle grinder with a tile blade for curved cuts around pipes. Always wear eye protection when cutting tile.
Grout the joints
Once mortar has fully cured, remove all tile spacers. Mix unsanded grout for joints under 1/8 inch and sanded grout for wider joints. Using a grout float held at a 45-degree angle, press grout firmly into the joints across the entire floor. Work in sections, removing excess grout from tile surfaces with a damp sponge before it hardens. Allow the grout to haze, then buff clean with a dry cloth.
Seal the grout
After grout has cured for 48–72 hours, apply a penetrating grout sealer with a small brush or applicator bottle directly along each joint. Wipe away any sealer that lands on tile surfaces immediately. Allow to dry fully before returning the room to normal use.
Start Small if You're New to Tiling
A laundry room or small bathroom entry is an ideal first project. The limited square footage means fewer cuts, less material cost if mistakes happen, and a faster overall completion time. Skills developed in a small space transfer directly to larger rooms later.
Common Mistakes and How to Avoid Them
Even experienced DIYers make predictable errors on tile projects. The most common is starting to lay tiles before the subfloor is fully clean, dry, and level. Any debris or high spots beneath a tile will cause it to rock and eventually crack under foot traffic.
Another frequent mistake is mixing too much mortar at once. Thin-set has a working time of roughly 30–45 minutes depending on temperature and humidity. Mix only as much as you can lay in that window.
Finally, many DIYers skip sealing grout after it cures. Unsealed grout absorbs moisture and stains quickly — particularly in kitchens and bathrooms. Apply a penetrating grout sealer once the grout has fully cured (typically 48–72 hours) and repeat annually in high-traffic or wet areas.
When to Stop and Call a Professional
If you discover rot, significant cracks, or moisture damage in your subfloor once the old flooring is removed, stop work and consult a licensed contractor before continuing. Tiling over a compromised subfloor will cause rapid tile failure and may conceal a more serious structural issue. The same applies if you find asbestos-containing materials in older resilient flooring — do not disturb them; contact a licensed abatement professional.