

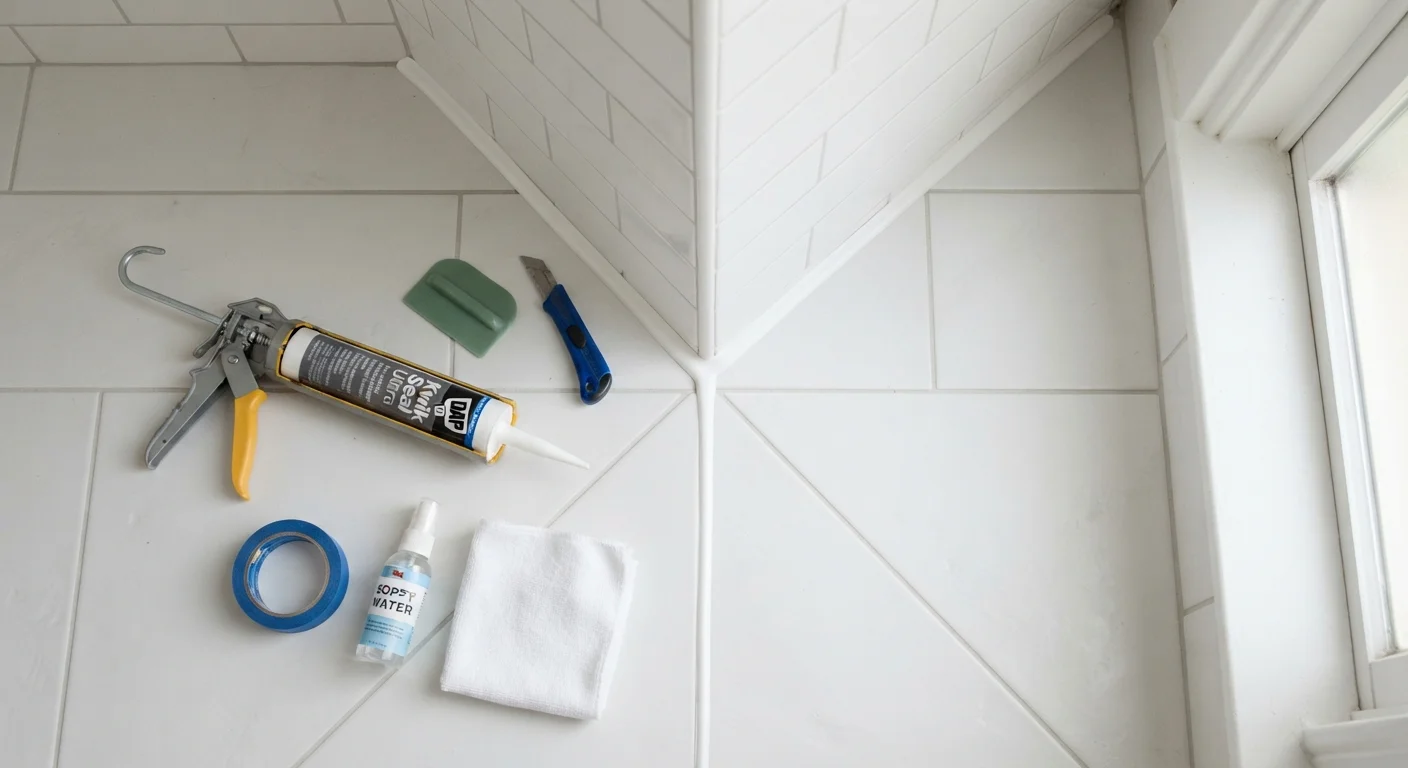
Key Takeaways
- Grout is rigid and suited to tile-to-tile joints on stable, flat surfaces only.
- Caulk and sealant are flexible and belong anywhere two different surfaces or planes meet.
- Using grout at corners or expansion joints will almost always lead to cracking.
- Silicone sealant outperforms latex caulk in wet, high-movement areas like showers.
- The same tile installation often requires both grout and caulk in different locations.
Option A
Grout
The rigid, tile-specific joint filler.
Best for: Filling uniform gaps between tiles on flat, stable surfaces where movement is minimal.
Option B
Caulk / Sealant
The flexible, moisture-blocking gap solution.
Best for: Sealing joints at corners, transitions, and surfaces that experience movement or thermal expansion.
If you are filling the joints between floor or wall tiles
Grout
Grout is specifically engineered for tile-to-tile joints on stable surfaces and provides the right hardness, color consistency, and durability for this application.
If you are sealing a corner where two tiled walls meet
Caulk / Sealant
Corners experience movement and stress. Flexible caulk accommodates that shift without cracking, while rigid grout will inevitably fail in this location.
If you are waterproofing around a bathtub, shower pan, or sink edge
Caulk / Sealant
Silicone sealant creates a waterproof, flexible barrier that handles the constant moisture and slight movement plumbing fixtures produce.
If you are sealing gaps around windows, baseboards, or trim
Caulk / Sealant
Paintable latex caulk seals air and moisture gaps at trim transitions and can be smoothed and painted to match surrounding surfaces seamlessly.
What Each Material Actually Is
These three terms are often used interchangeably in hardware stores and DIY tutorials, but they are distinct products with different compositions and purposes.
Grout is a cement-based (or epoxy-based) filler that hardens completely once cured. It is mixed or pre-mixed to fill the consistent, even gaps between tiles. Because it cures rigid, it bonds tile edges into a unified, load-bearing surface. Grout comes in sanded and unsanded varieties — sanded for joints wider than 1/8 inch, unsanded for narrower ones.
Caulk is a flexible, paste-like compound — most commonly latex or silicone — that remains slightly pliable after curing. That flexibility is exactly the point: it can absorb movement between surfaces without cracking or pulling away.
Sealant is often used interchangeably with caulk, but the term usually refers specifically to silicone or polyurethane formulas that prioritize waterproofing and adhesion over paintability. In practice, all silicone sealants are caulks, but not all caulks are sealants.
| Criterion | Grout | Caulk / Sealant |
|---|---|---|
| Flexibility after cure | Rigid — no give | Flexible — absorbs movement |
| Best location | Tile-to-tile joints, flat planes | Corners, transitions, fixture edges |
| Water resistance | Moderate; requires sealing | High (especially silicone) |
| Paintable | Yes, when sealed | Latex: yes. Silicone: no |
| Typical lifespan | 10–20 years on stable substrate | 5–10 years; re-application needed |
| Handles surface movement | No — cracks under stress | Yes — designed for this |
| Application tool | Rubber grout float | Caulk gun or squeeze tube |
Where Each One Belongs — and Where It Fails
Understanding location logic is the fastest way to choose correctly every time.
Use grout here:
- Between tiles on walls, floors, and countertops
- Any joint that is flush, uniform in width, and on a single flat plane
- Decorative mosaic or glass tile installations with consistent spacing
Use caulk or sealant here:
- Corners where two tiled walls meet (inside corners)
- The joint between a tiled wall and a bathtub or shower pan ledge
- Around sinks, faucets, and toilet bases
- Where tile meets a different material — wood flooring, drywall trim, or a window frame
- Expansion joints in large-format tile installations
The critical mistake homeowners make is grouting corners. Two walls flex independently — the building moves, temperature cycles, and framing settles. Rigid grout cannot accommodate that motion, so it cracks. If you have ever seen a shower corner split apart, that is almost certainly why. Learn more about why grout cracks and how to address it if you are already dealing with that problem.
One Installation, Two Products
A standard tiled shower requires both grout and caulk — grout fills the field tile joints, while caulk seals every inside corner and the tub-to-tile joint. The Tile Council of North America (TCNA) specifically recommends replacing grout at all change-of-plane joints with a flexible sealant. Following this guideline from the start saves homeowners the cost of repairs caused by cracked corner grout.
Choosing the Right Caulk Type for the Job
Not all caulk is equal, and the wrong type can fail just as badly as using grout where caulk belongs.
5–10 yrs
Typical caulk service life in wet areas
The Tile Council of North America notes that caulk in high-moisture environments generally requires replacement every five to ten years, depending on exposure and product quality.
1/8"
Joint width threshold for sanded vs. unsanded grout
Industry standards specify sanded grout for joints of 1/8 inch or wider; unsanded grout is recommended for narrower gaps to avoid surface scratching and shrinkage.
Silicone sealant
Best for wet areas — showers, tubs, sinks, and exterior gaps. Silicone bonds to nearly any non-porous surface and remains flexible and waterproof for years. The trade-off: it cannot be painted and requires a clean, dry surface for adhesion. Use 100% silicone in shower interiors.
Latex (acrylic) caulk
Best for interior dry areas like baseboards, window trim, and crown molding. It cleans up with water, accepts paint, and is easier to tool smoothly. However, it is not suitable for prolonged water exposure.
Siliconized latex
A hybrid formula that offers some flexibility and paintability, suitable for semi-wet areas like around a bathroom vanity that does not take direct water spray.
Always match the caulk to the environment. Check the product label for specific use cases — mold-resistant formulas are worth the slightly higher cost in any bathroom application.
Practical Application Tips
Regardless of which product you choose, preparation determines the result more than technique does.
- Clean and dry the surface completely. Old caulk, soap scum, dust, or moisture will prevent proper adhesion. Use a caulk remover tool and rubbing alcohol for stubborn residue.
- Cut the nozzle conservatively. A smaller opening gives you more control. You can always make a second pass; you cannot easily undo a bead that is too wide.
- Apply in a single continuous stroke. Start at one end and move steadily, keeping consistent pressure on the gun.
- Tool the bead immediately. Use a wet finger or a caulk-finishing tool to press the material into the joint and create a concave, sealed surface.
- Allow full cure time before water exposure. Silicone typically needs 24 hours; latex may dry faster. Check the packaging — rushing this step is a common source of early failure.
For grout, mix to the consistency specified by the manufacturer — not too wet — and work in small sections using a rubber float held at a 45-degree angle. Remove haze with a damp sponge before it fully hardens.