

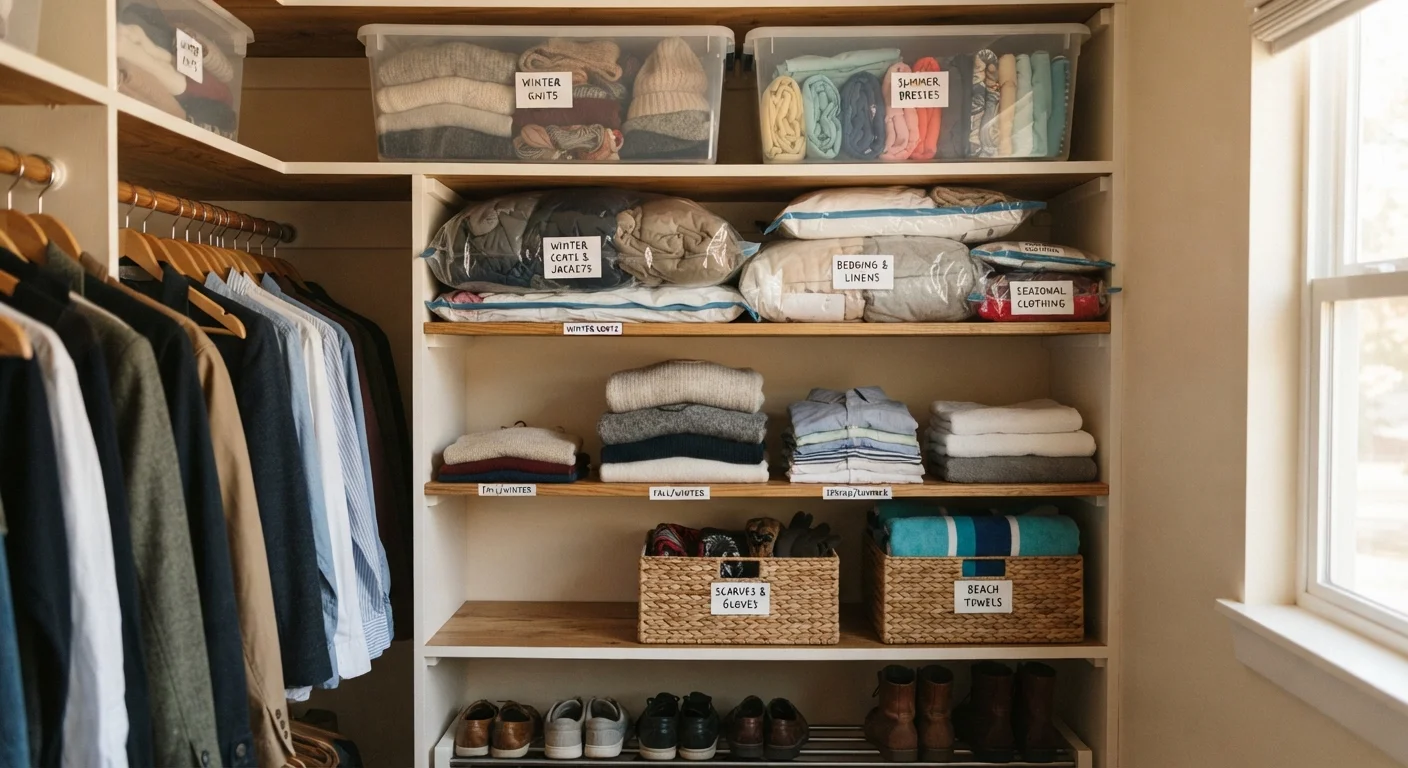
Key Takeaways
- Audit each category before packing anything away — rotation is a natural time to declutter.
- Clear, consistent labeling by category and season prevents the "mystery box" problem.
- Proper cleaning and conditioning before storage protects items for the season ahead.
- A simple inventory list — even a phone photo — means you'll never forget what's stored where.
- Dedicated storage zones reduce the time spent searching when seasons change again.
What you will need
Why Seasonal Rotation Goes Wrong
Most households rotate seasonal items at least twice a year — spring into summer, fall into winter — but the process often breaks down in the same predictable ways: unlabeled bins, items stored while still damp, and no record of what went where. The result is a frustrating search through multiple containers every time a season changes.
The solution isn't a complex organizational system. It's a consistent, repeatable process applied the same way each time. The steps below give you exactly that — a method that works equally well for clothing, holiday decorations, sports equipment, and outdoor gear.
Stackable storage bins with lids
Keep seasonal items contained, protected from dust, and easy to stack in closets or attic spaces.
Adhesive labels or label maker
Mark each container clearly by season and category so retrieval is immediate.
Vacuum-seal storage bags
Compress bulky items like winter coats or comforters to save shelf space.
Breathable garment bags
Protect seasonal clothing — especially natural fabrics — during long-term storage.
Permanent marker or bin clips
Secondary labeling backup that won't peel off like adhesive labels sometimes do.
Cedar blocks or sachets
Deter moths and absorb odors in clothing storage containers without chemicals.
Maintaining the System Over Time
A seasonal rotation system only stays useful if it's maintained. Each time you retrieve items at the start of a new season, do a quick check: is everything where you expected it? Are any labels faded or missing? Did anything get mixed into the wrong container? A five-minute review at retrieval time prevents problems from compounding over multiple seasons.
If your household is also navigating a life change — a move, a new job, a growing family — the way you dress and what you store may shift significantly. The practical guide to wardrobe transitions offers a structured approach for those moments when the seasonal rotation itself needs a rethink.
Avoid Plastic Bags for Long-Term Clothing Storage
Standard plastic bags trap moisture and can cause yellowing in natural fabrics like cotton, wool, and linen over several months. Use breathable cotton or canvas bags for garments, and reserve sealed plastic bins for non-fabric items like decorations or gear. Vacuum-seal bags are suitable for bulky synthetic or down-filled items stored in dry conditions.
For storage furniture decisions that affect how much off-season space you actually have, closed storage vs. open shelving weighs the practical tradeoffs worth considering before you commit to a setup.
Sort by category before you do anything else
Group your seasonal items into clear categories: clothing, decorations, outdoor gear, sports equipment, and so on. Working one category at a time prevents the chaos of mixing summer sandals with holiday ornaments. Lay everything out where you can see it before a single item goes into storage.
Clean and condition every item before storage
Wash or dry-clean clothing, wipe down decorations, and clean gear of dirt, salt, or residue. Allow everything to dry completely. For leather goods or outdoor equipment, apply any appropriate conditioning products before storing.
[important_callout]Choose the right container for each item type
Match the container to what you're storing. Hard-sided bins with snap lids protect decorations and gear from crushing. Breathable garment bags or fabric boxes work better for natural-fiber clothing. Vacuum-seal bags are useful for bulky synthetic-fill items like comforters and puffy coats where space is at a premium.
Label every container with season and category
Write the season (e.g., "Winter") and the category (e.g., "Sweaters & Scarves") on at least two sides of each bin so the label is readable no matter how it's stacked or turned. A label maker produces clean, durable results, but a permanent marker on masking tape works just as well.
Create a quick visual inventory
Before sealing each container, photograph the contents or jot a brief list. Store photos in a clearly named album on your phone, or keep a single running note in your preferred notes app organized by room or category.
[tip_callout]Assign dedicated storage zones and stack strategically
Place the items you'll need soonest at the front or top of your storage area. Items that won't be touched for six months can go to the back or bottom. Grouping by season within a zone — all summer gear together, all winter gear together — means you only disturb one section when the season turns.