

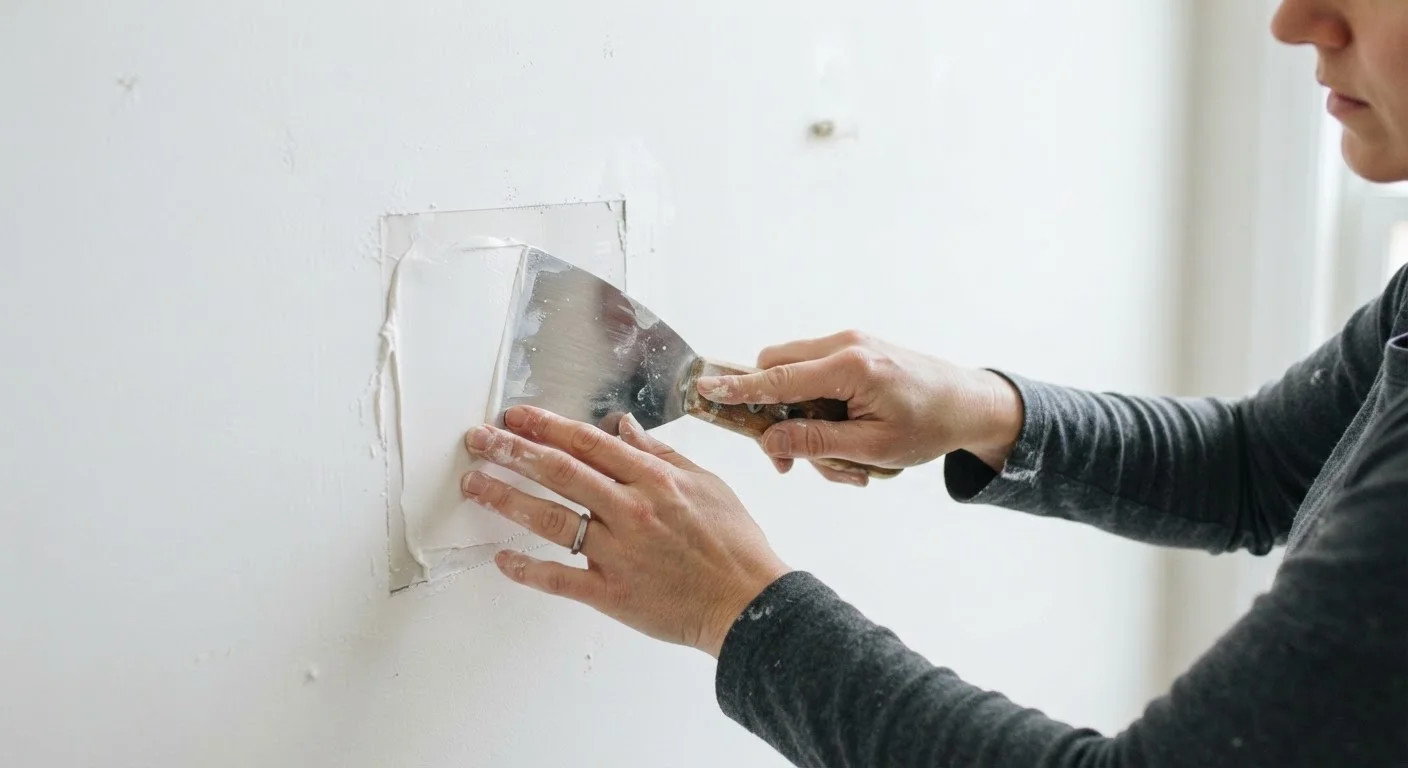
Key Takeaways
- Most drywall damage falls into three categories: small holes, medium holes, and large damage — each needs a different approach.
- Joint compound (also called mud) is the core material for nearly every drywall repair, regardless of hole size.
- Multiple thin coats of compound always produce better results than one thick application.
- Proper sanding and priming before painting are just as important as the repair itself.
- Large structural, water-damaged, or mold-affected drywall should be assessed by a professional.
Start here
Understanding What You're Working With
Gather supplies
Tools and Materials You'll Need
Practice first
Repairing Small Holes and Nail Pops
Step up
Fixing Medium Holes with a Patch Kit
Bigger jobs
Tackling Larger Damage with a Backing Board
Final step
Finishing, Sanding, and Painting
Understanding What You're Working With
Drywall — also called gypsum board or sheetrock — is the flat paneling that makes up most interior walls in US homes. It consists of a gypsum plaster core sandwiched between two layers of paper. It's sturdy enough for everyday life but vulnerable to doorknob impacts, furniture bumps, and the slow stress of settling foundations.
Before you reach for any tools, identify what kind of damage you have. Most repairs fall into one of three categories:
- Small holes (under ½ inch): Nail holes, picture-hanging anchors, and minor surface dings.
- Medium holes (½ inch to 4 inches): Doorknob punctures, screw blow-outs, or accidental impacts.
- Large holes (over 4 inches): Fist-sized damage, removed outlet boxes, or significant impact damage.
Each category calls for a different technique, but all share the same finishing steps. Understanding the scope of your repair up front saves you from buying the wrong materials or underestimating your project.
Joint compound
A water-based paste used to fill, coat, and smooth drywall repairs and seams. Often called 'mud' by contractors. It comes pre-mixed in tubs and must dry fully between coats.
Feathering
The technique of gradually thinning the edges of a compound application so the repair blends smoothly into the surrounding wall without a visible bump or ridge.
Drywall tape
A thin strip of paper or fiberglass mesh applied over seams before compound coats. It reinforces the joint and prevents cracking as the repair dries.
Backing board
A piece of wood or plywood installed inside a large hole to give a drywall patch something solid to screw into, providing structural support for the repair.
PVA primer
A type of primer designed for porous surfaces like drywall and joint compound. It seals the surface so paint absorbs evenly and doesn't leave dull spots.
Nail pop
A small bump or dent in drywall caused by a nail or screw pushing back through the surface as the wall framing shifts or dries over time.
Tools and Materials You'll Need
You don't need a contractor's tool belt to get started. For most beginner repairs, a short shopping list covers everything:
- Putty knife or drywall knife: A 4–6 inch flexible blade works for most small and medium repairs. A wider 10–12 inch knife helps with feathering larger areas.
- Joint compound (pre-mixed): Sometimes called mud. Buy a small tub — a quart or half-gallon goes a long way for typical repairs.
- Sandpaper: 120-grit for initial sanding, 220-grit for final smoothing.
- Primer: Drywall or PVA primer prevents paint from absorbing unevenly.
- Mesh patch kit or backing board: Required for holes larger than about ½ inch.
- Drywall tape: Paper or fiberglass mesh tape reinforces patched seams on larger repairs.
- Utility knife: For cutting drywall or trimming patch kits cleanly.
Thin Coats Beat One Thick Layer
A common beginner mistake is applying one heavy coat of compound hoping to finish faster. Thick coats crack as they dry and take days to cure. Two or three thin coats, each fully dried and lightly sanded, produce a stronger and smoother result with fewer problems.
Keep a damp sponge nearby while you work. Wiping excess compound off your knife between passes keeps your work area cleaner and your coats thinner.
Repairing Small Holes and Nail Pops
Small holes are the perfect place to build your confidence. The process is simple and forgiving.
- Clean the area. Remove any loose paper or gypsum crumbs from around the hole with your putty knife or a dry cloth.
- Apply compound. Load a small amount of pre-mixed joint compound onto your putty knife and press it firmly into and over the hole, spreading it flat against the wall surface.
- Feather the edges. Use the knife at a shallow angle to thin out the compound toward the surrounding wall, blending it smoothly rather than creating a raised lump.
- Let it dry completely. This typically takes 24 hours. Do not rush this step.
- Sand lightly. Once dry, use 120-grit sandpaper to knock down any ridges, then follow with 220-grit for a smooth finish. Wipe away dust with a slightly damp cloth.
- Apply a second coat if needed. Compound shrinks as it dries. If the repair looks slightly sunken, apply a second thin coat and repeat the drying and sanding process.
Fixing Medium Holes with a Patch Kit
Holes roughly ½ inch to 4 inches across need extra support — joint compound alone will sag or crack without something to adhere to. Self-adhesive mesh patch kits, widely available at hardware stores, solve this problem neatly.
- Clean and square the hole. Use a utility knife to trim away any loose paper flaps or jagged edges. A clean edge helps the patch sit flat.
- Apply the mesh patch. Peel the backing from the self-adhesive mesh and center it over the hole, pressing it firmly against the wall.
- Apply the first coat of compound. Using a 6-inch knife, spread joint compound over the entire mesh patch, working compound into the mesh's open weave. Feather the edges outward several inches.
- Let dry, then apply a second coat. The mesh will likely show through the first coat — that's normal. A second coat fills the texture. Feather this coat wider than the first.
- Sand and inspect. Once fully dry, sand with 120-grit then 220-grit. Run your hand over the surface — you should feel little to no transition between patch and wall.
Never Skip the Drying Time
Applying a second coat over compound that isn't fully dry traps moisture underneath, which leads to bubbling, cracking, and failed repairs. Even if the surface feels dry to the touch, wait until the compound has turned uniformly white before sanding or recoating. In humid climates or during winter with heating running, add extra drying time.
Tackling Larger Damage with a Backing Board
Holes larger than 4 inches require a sturdier approach: a backing board cut into the wall cavity gives your replacement drywall piece something solid to screw into. This technique takes more steps but is still manageable for a patient beginner.
- Cut a clean rectangle. Use a drywall saw or utility knife to cut around the damaged area in a neat square or rectangle shape. Measure the cutout dimensions carefully.
- Install backing boards. Cut two pieces of scrap wood or thin plywood slightly longer than the height of your cutout. Slide one behind each side of the opening and secure them to the existing drywall with drywall screws so that half the board extends into the opening.
- Cut a replacement patch. Cut a piece of new drywall to exactly match your rectangular cutout and screw it into the backing boards.
- Tape the seams. Apply drywall tape (paper or fiberglass mesh) over all four seams where patch meets wall, then embed the tape in a coat of joint compound.
- Build up coats. Apply two to three additional coats of compound, feathering each coat 6–8 inches wider than the last. Allow full drying between every coat.
For guidance on judging whether a repair is within your skill level, see our article on when to DIY versus call a licensed tradesperson.
When to Call in a Professional
If your drywall damage is accompanied by soft or discolored gypsum, a musty smell, visible mold, or stems from a plumbing or roof leak, stop and consult a licensed professional before proceeding. Patching over water-damaged or mold-affected drywall without addressing the root cause can create serious health and structural problems. Electrical work behind walls also requires a licensed electrician — never cut into drywall near outlets or switches without first confirming the circuit is off and understanding what's behind the panel.
Finishing, Sanding, and Painting
The finishing stage determines whether your repair blends invisibly or announces itself every time the light hits the wall. Take your time here.
- Final sanding. Start with 120-grit to flatten ridges, then move to 220-grit for a smooth surface. Sand in circular motions, then finish with straight strokes parallel to the wall.
- Dust removal. Wipe the repaired area with a barely damp cloth or tack cloth to remove all sanding dust. Dust left behind will show through paint.
- Prime. Apply a coat of drywall primer to the repaired area. This step is non-negotiable — compound is porous, and skipping primer results in uneven paint absorption.
- Paint. Once the primer is dry, paint the repaired section with your wall color. In most cases you'll need to paint the entire wall panel to avoid visible patches, since even a perfect color match can look slightly different on aged paint.
Stand back and check your work in raking light (a flashlight held at a sharp angle to the wall surface). This reveals any remaining ridges or low spots that flat overhead lighting hides. Touch up as needed before your final paint coat.