

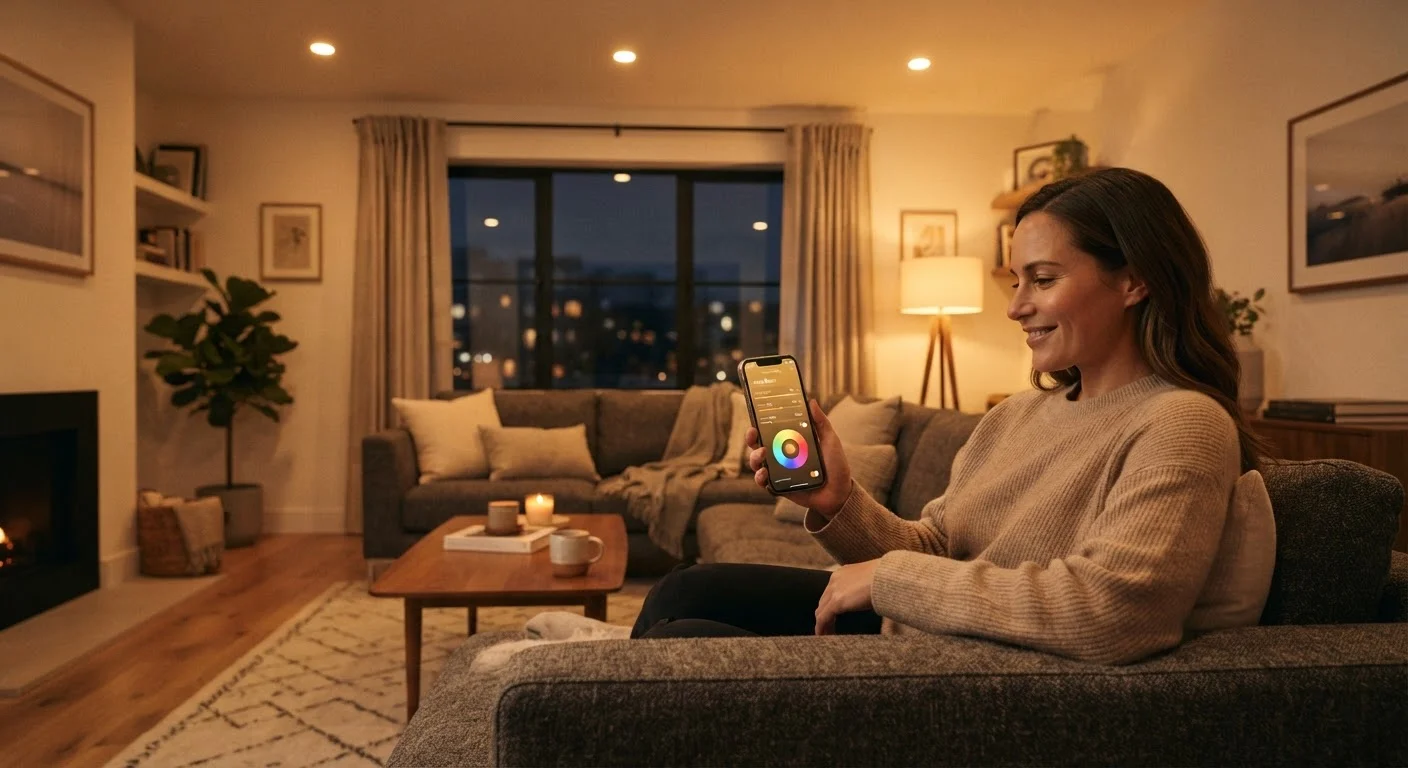
Key Takeaways
- Smart bulbs screw into standard sockets and connect to your home Wi-Fi or a hub device.
- Choosing a single ecosystem (such as Apple HomeKit, Google Home, or Amazon Alexa) prevents compatibility headaches.
- Schedules and scenes let you automate lighting without lifting a finger after initial setup.
- Most smart lighting apps walk you through setup with a step-by-step in-app guide.
- You can start with one bulb or one room and expand the system at any pace.
What you will need
What Smart Lighting Actually Is (and Isn't)
Smart lighting replaces ordinary bulbs with LEDs that contain a small wireless radio, allowing them to receive commands from an app, a voice assistant, or an automated schedule. Unlike traditional bulbs, they can be dimmed, change color temperature, and be grouped or controlled remotely — without any rewiring.
What smart lighting isn't is complicated. The most common systems are designed around a consumer-friendly setup experience: screw in the bulb, download an app, follow a short wizard. The learning curve comes from understanding the ecosystem — the software layer that ties your bulbs together — rather than from any physical installation challenge.
For a broader look at how smart bulbs fit into the wider world of connected devices, our complete home automation reference covers protocols, hubs, and device categories in depth.
What you will need
What You'll Need Before You Start
Smart lighting setup requires only a few things: the right bulbs, a compatible app, and a stable Wi-Fi connection. Some bulb systems — particularly those using the Zigbee wireless protocol — also require a small hub device that plugs into your router. Others connect directly to Wi-Fi and need no hub at all. Check the product packaging before purchasing to know which type you're buying.
Smart LED Bulbs
Replace standard bulbs in your existing fixtures to enable app and voice control.
Smart Hub or Bridge
Required by some bulb brands (such as Zigbee-based systems) to connect bulbs to your Wi-Fi network.
Manufacturer's Smartphone App
Used to pair bulbs, name rooms, set schedules, and build lighting scenes.
Voice Assistant Device
Allows hands-free control of lights once linked to your smart lighting app account.
Keep Your Wi-Fi Password Handy
Smart bulbs and hubs require your home Wi-Fi credentials during setup. Make sure you know your 2.4 GHz network name and password before starting — most smart home devices do not support 5 GHz-only networks. Attempting setup without these details will interrupt the process and may require a factory reset of the bulb.
Step-by-Step Setup
Follow the steps below to go from an empty box of bulbs to a fully configured, voice-controllable lighting system. Each step builds on the last, so work through them in order for the smoothest experience.
Choose Your Ecosystem Before Buying Bulbs
Before purchasing any bulbs, decide which smart home ecosystem you want to use: Amazon Alexa, Google Home, or Apple HomeKit are the three most common. Pick the one that matches a voice assistant you already own or plan to use. Then, buy bulbs that explicitly list compatibility with that ecosystem on the packaging.
Mixing ecosystems across a single home is possible but adds complexity. For a first setup, staying within one platform keeps the experience straightforward.
Install the Bulbs and Download the App
With your wall switch in the off position, unscrew any existing bulb and install your smart bulb in its place. Once all target bulbs are installed, turn the wall switch back on. The bulbs may flash briefly — this is normal and indicates they are in pairing mode.
Next, download the manufacturer's official app on your smartphone. Search the app store using the brand name printed on the bulb's packaging to avoid unofficial imitations.
Pair Each Bulb to Your App Account
Open the app and create an account if you haven't already. Follow the in-app setup wizard — it will typically ask you to:
- Enable Bluetooth on your phone (used for initial discovery)
- Select your Wi-Fi network and enter your password
- Wait for the app to detect nearby bulbs in pairing mode
- Confirm each bulb is found and assign it a name (e.g., "Bedside Lamp")
If a bulb isn't detected, switch it off and on three times in quick succession to reset it into pairing mode, then retry.
Organise Bulbs Into Rooms
Most apps let you group bulbs into rooms or zones. After pairing, assign each bulb to the correct room within the app. This allows you to control an entire room at once — for example, saying "turn off the bedroom" dims all bulbs assigned to that room simultaneously.
Take a moment to create accurate room labels now; reorganising later requires re-pairing or manual reassignment in some apps.
Create Your First Scene
A scene is a saved snapshot of lighting settings — brightness levels and color (if your bulbs support it) — that you can activate with a single tap or voice command. Common starter scenes include:
- Movie Night: Dim all living room bulbs to 20%, warm white
- Morning: Bedroom at 80% brightness, cool white to aid waking
- Reading: Single lamp at 100%, neutral white
In the app, navigate to Scenes or Moods, tap "Create," select the bulbs to include, adjust brightness and color temperature, then save with a descriptive name.
Set a Schedule or Automation
Schedules let your lights turn on or off automatically based on time — useful for security when you're away or for a gentle wake-up routine. Find the Schedule or Automation section of the app, select which bulbs or rooms to include, choose the days and times, and set the desired brightness.
For more advanced logic — such as lights that react to your location or trigger when another device activates — see our guide to automations, routines, and scenes for a clear breakdown of how each option works.
Start Small, Then Expand
Beginning with a single room — typically the living room or bedroom — lets you learn the app and test your setup before investing in more bulbs. Once you're comfortable creating scenes and schedules in one space, replicating the process in other rooms takes a fraction of the time.
Troubleshooting Common Setup Problems
Even straightforward setups occasionally hit a snag. Here are the most frequent issues and their fixes:
- Bulb not detected during pairing
- Confirm the wall switch is on. Rapidly toggle the switch off and on three times to force the bulb back into pairing mode. Move your phone closer to the bulb during the discovery step.
- App can't find your Wi-Fi network
- Most smart bulbs only support 2.4 GHz Wi-Fi. If your router broadcasts separate 2.4 GHz and 5 GHz networks, connect your phone to the 2.4 GHz network before launching setup.
- Bulb responds slowly or drops commands
- This typically indicates a weak Wi-Fi signal at the bulb's location. Try moving your router closer, adding a Wi-Fi extender, or switching to a mesh network system for better whole-home coverage.
- Voice commands not working
- Open the voice assistant's app and re-link your smart lighting account under Settings > Services or Connected Accounts. A re-sync usually resolves recognition failures after new bulbs are added.
Don't Use Smart Bulbs With Dimmer Switches
Standard dimmer switches send variable voltage that can interfere with a smart bulb's built-in electronics, causing flickering or shortening bulb life. If your fixture has a dimmer switch, replace it with a standard on/off switch, or look specifically for smart bulbs rated as dimmer-compatible. Alternatively, leave the wall switch always on and control dimming entirely through the app.